Please sign my guestbook!
Sign My Guestbook  View My Guestbook
***DISCLAIMER***
(it's so pathetic that I have to do this; I HATE people that can't take responsibility for their own actions!)
This is ONLY documentation for my own project car. Should anyone decide to copy, emulate, or in any other way reproduce my ideas and/or methods, I bear NO RESPONSIBILITY for your actions. This is not a snap-tite model. There are no (quality) pre-fab kits out there that make it an easy 1-2-3 to do this conversion. This is custom work, and as such, is every bit as much art as it is science. Please ALWAYS think through what you're going to do before taking action, and PLEASE, Safety First!
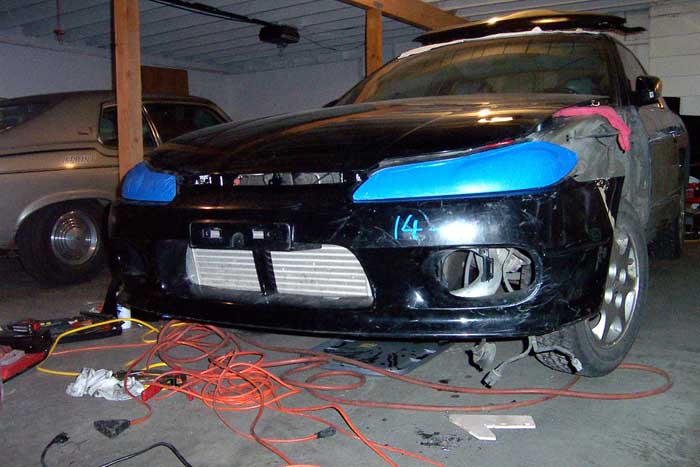
Day 4 - Headlight wiring prep & LOTS of bumper trimming (the FMIC just always seems to be in the way)
Passenger's side core support cutout, midway through
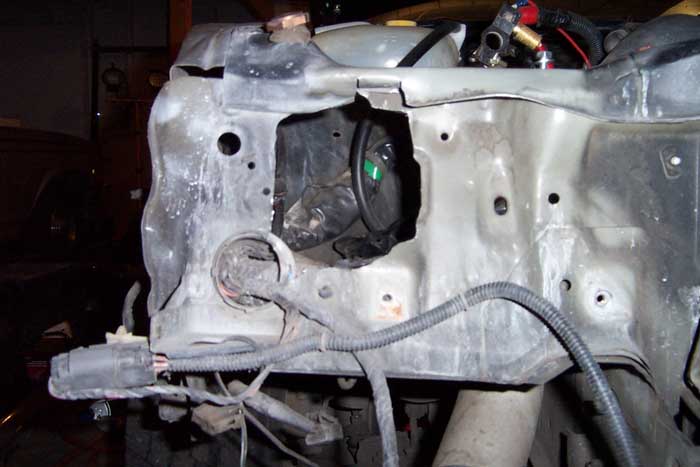
Another view
Here we go with the preliminary bumper test fit after the first round of trimming hte backside to make the FMIC and IC pipes fit.
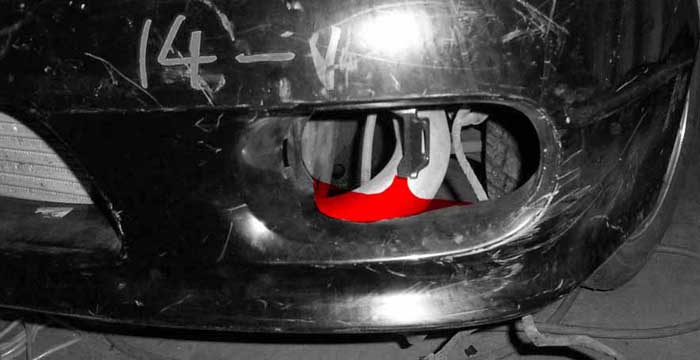
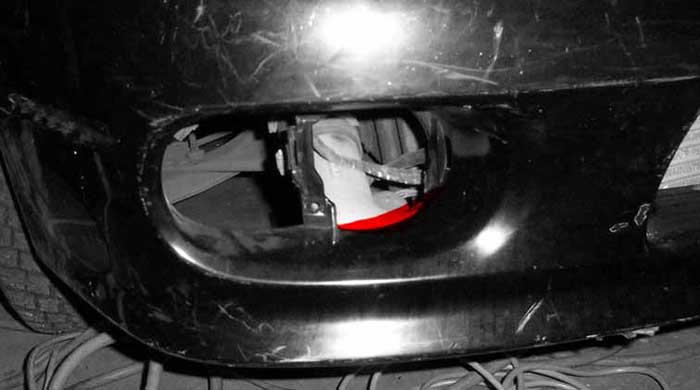
Marked in red is the area missing to clear the hot pipe, can't get too close on this side unless I want to smell melting urethane ;)
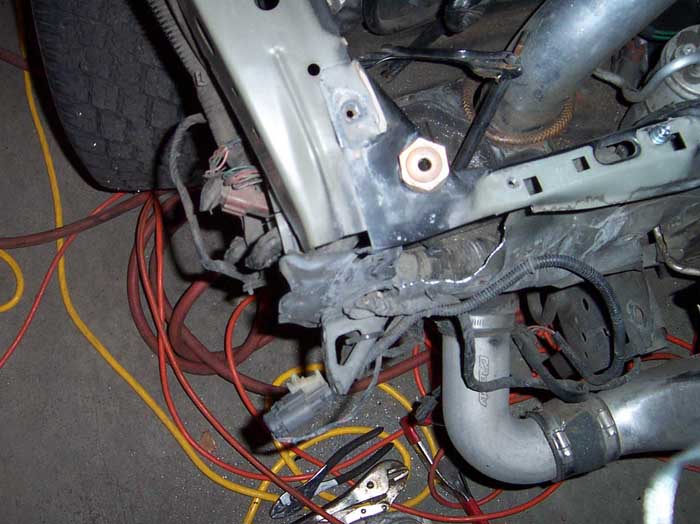
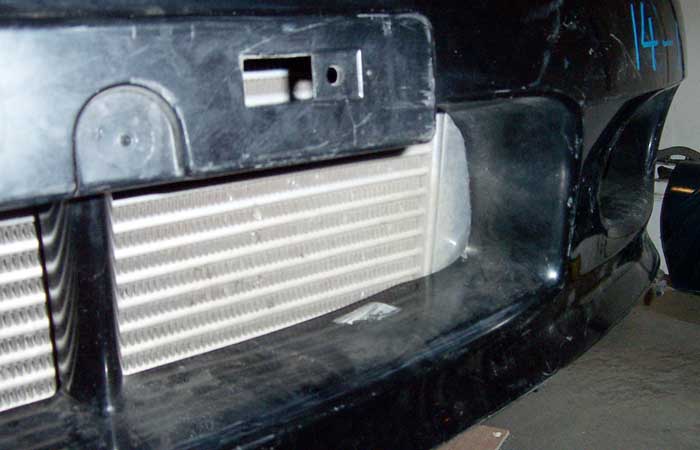
Significantly less needs to be trimmed on the passenger's side
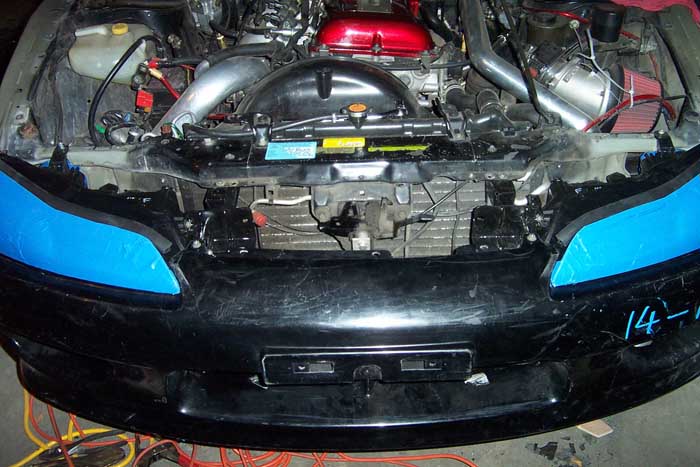
Behold the main problem. There is a SIGNIFICANT amount of plastic shaved from the back side of the radiator/FMIC area, yet here you can clearly see now the bumper is still hitting the end tank along most of it's surface, unacceptable. Time for more Dremel.
Passenger's side inner headlight mount will need trimming so it does hit the AC service port, but this is a decent pic of how things fit together :)
^ TOP