Please sign my guestbook!
Sign My Guestbook  View My Guestbook
***DISCLAIMER***
(it's so pathetic that I have to do this; I HATE people that can't take responsibility for their own actions!)
This is ONLY documentation for my own project car. Should anyone decide to copy, emulate, or in any other way reproduce my ideas and/or methods, I bear NO RESPONSIBILITY for your actions. This is not a snap-tite model. There are no (quality) pre-fab kits out there that make it an easy 1-2-3 to do this conversion. This is custom work, and as such, is every bit as much art as it is science. Please ALWAYS think through what you're going to do before taking action, and PLEASE, Safety First!
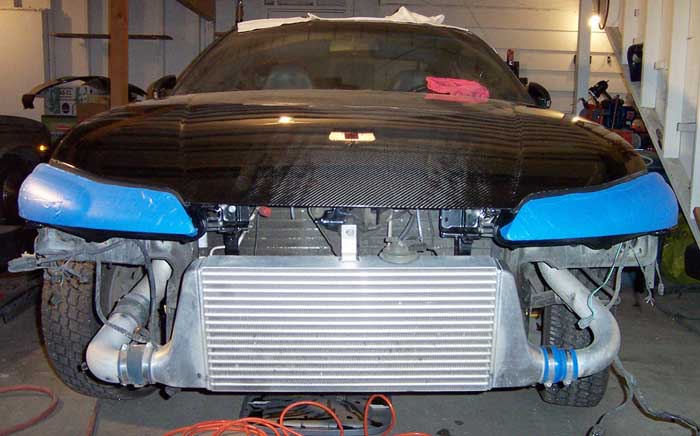
Day 6 - Mounted Headlights! Bumper 90%
Here you can see exactly how the light is mounted. The light was aligned with the hood and placemarked, a new hole needed to be drilled in the core support for the main outer light mount point. I used a 6mm x 30mm bolt that goes up thru the support from the bottom. The head is so close to the pre-existing pop-up light mount that with minimal grinding of the new bolt, the head will jam against the existing welded bolt making a perfect lock for tightening. This was extra fortuitous because there is NO ROOM to work under there, even with skinny little girlie hands like mine ;) Another nut on top keeps the bolt permanently mounted, and small washers were used for spacers, then the light placed over top, then a lockwasher and the final nut. Before tightening down all the way, there was a decent amount of bolt shank leftover that was then cut flush via sawzall.
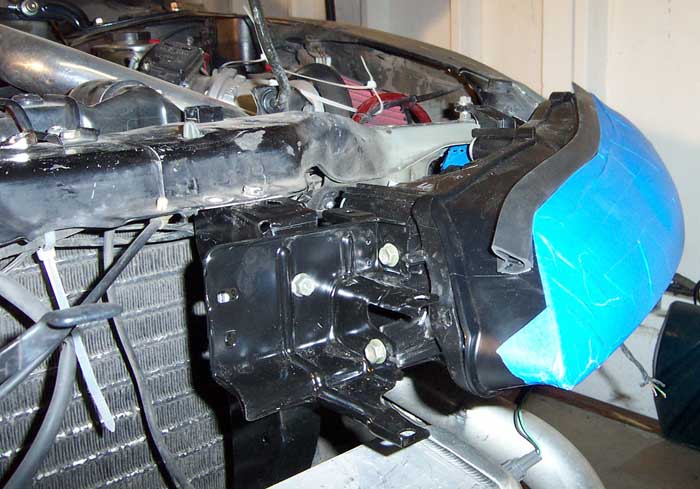
The inner mount point was the easiest. The stock JDM PS13 mount points are preexisting, complete with a welded nut to bolt to. The light was aligned, then marked by simply scratching the paint on the headlight's mount from the back side, through the JDM support mount with a sharp piece of scrap that was lying around, this made drilling a snap. The light is now "bolt-on" :) Note how well the light aligns with the hood now.
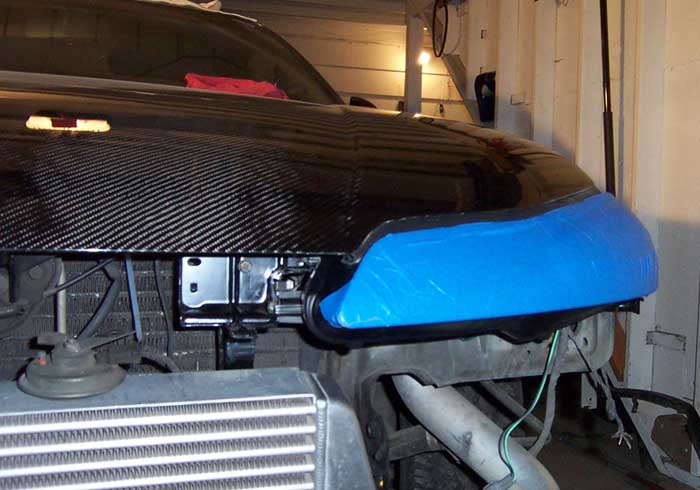
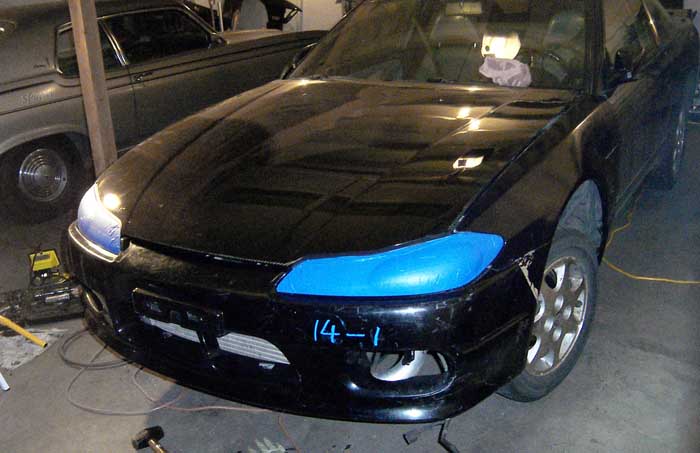
Here's a view of the other side after final mounting, note how much of the inner headlight mount had to be cut to make room for the AC service port.
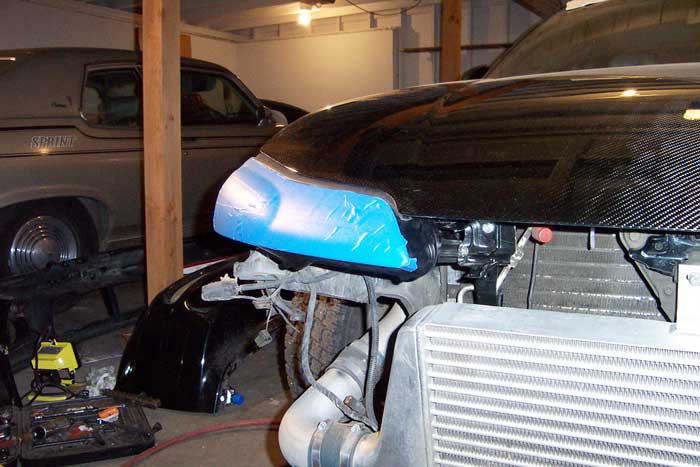
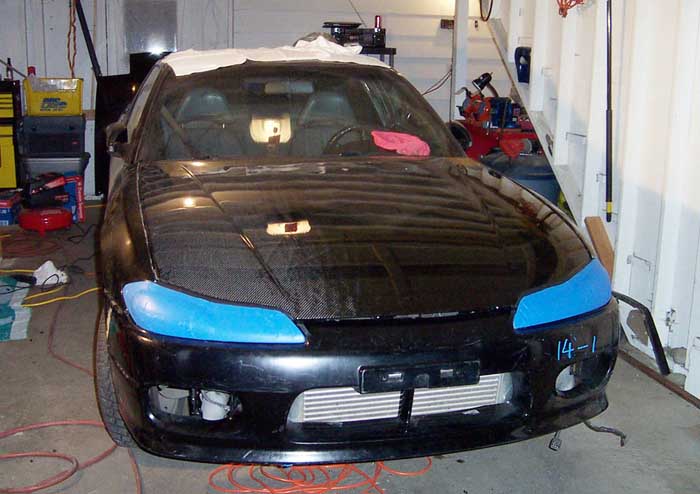
Headlights mounted and aligned! (aiming the beam pattern is a whole different issue though.... eek!)
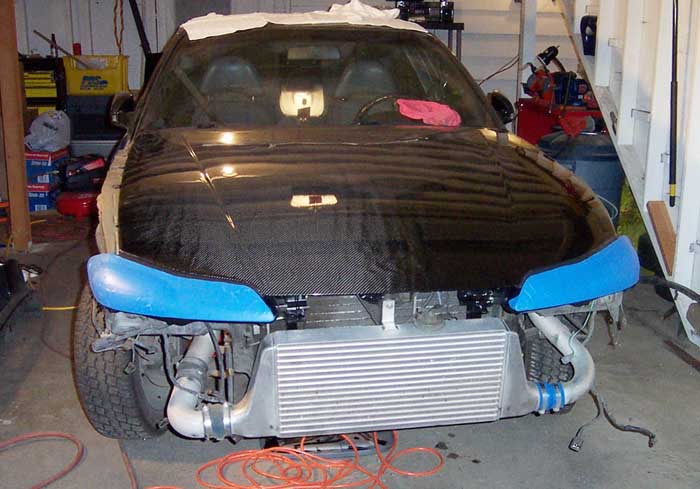
My excitement at this point was getting out of hand (I think everyone gets more excited to some degree when you're really making progress that's visual); here are pix of the bumper test bolted-on and fenders clamped into pseudo place (nothing is actually holding them on at this point). Things are really coming together now!

^ TOP